
Here are some general installation instructions for installing RV solar panels and kits -
1.) Cover the solar panel or module face completely with opaque material such as heavy blanket
to halt the production of electricity when installing or
working with solar panels or modules or wiring.
2.) Never cross the bare wire leads coming from the solar panels or modules.
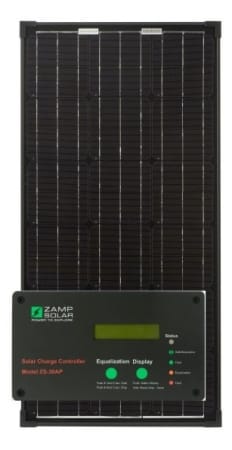
3.) Place the digital charge controller as close to the battery
bank as possible. (6-9 feet, the closer the charge controller the better performance).
4.) Install the solar panel/panels as close to the charge
controller as practically possible. Place solar panels away from any object
on the roof which might cause shading. (Shading can
greatly diminish the performance of the solar system).
5.) Always use the approved size or gauge of wires for the install
provided in the kit.
6.) Never wire the system to the converter in the RV, always
wire the positive and negative wires and leads directly to the battery.
7.) Install the fuse holders or breakers on the positive wire, as close as possible
to the battery bank.
8.) Always use the heat shrink over the connectors provided in the kit
and check and recheck all connections.
9.) Set the Voltage on the charge controller to the right setting
based on the batteries in your RV. Check controller manual
for proper setting.
10.) Most people will route the cables/wires from the solar panels through the refrigerator vent to avoid drilling additional holes in the roof. Most newer RV manufacturers provide solar connectors on the roof so it is worth checking either directly with the manufacturer or making a visual inspection before proceeding with the installation.
will call you back within 24 hours.